We use cookies to make your experience better. To comply with the new e-Privacy directive, we need to ask for your consent to set the cookies. Learn more.
Measuring the Torque Value of your Driver
The torque value on an electric torque driver is set to a specific value by the individual or manufacturer in accordance with the application. The torque value is generally determined by the material you are fastening and the type of screw you are using. Some materials will require more clamping force, making it necessary to turn up the value of the torque, while others will not. For example, aluminum will require less torque than steel due to it being a softer metal.
An improperly torqued screw can create excessive stress that can damage or break the screw and material being fastened or leave parts loose and insecure. Controlling torque is essential for manufacturers to ensure the quality, safety, and performance of their final product. This is why setting your torque driver to the proper torque value for your application is so important.
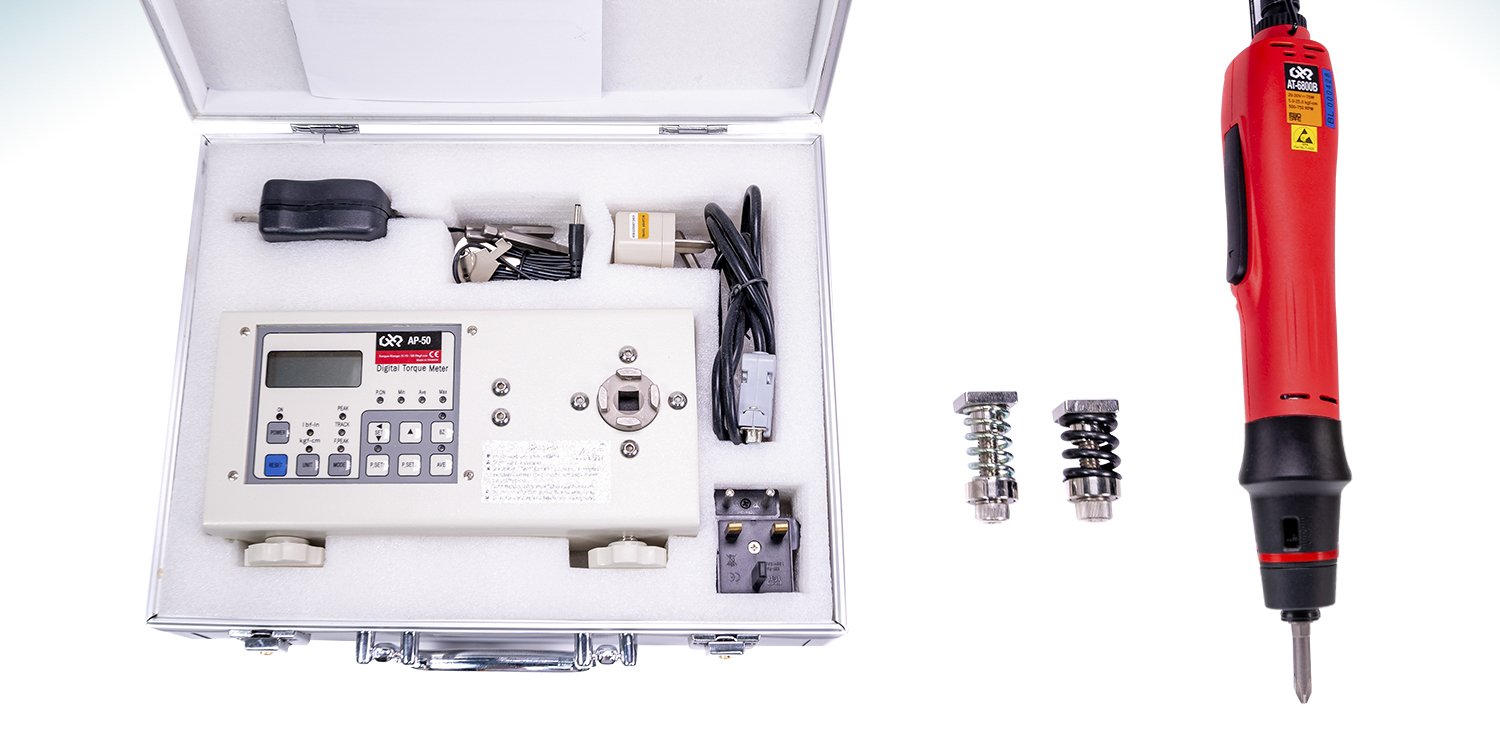
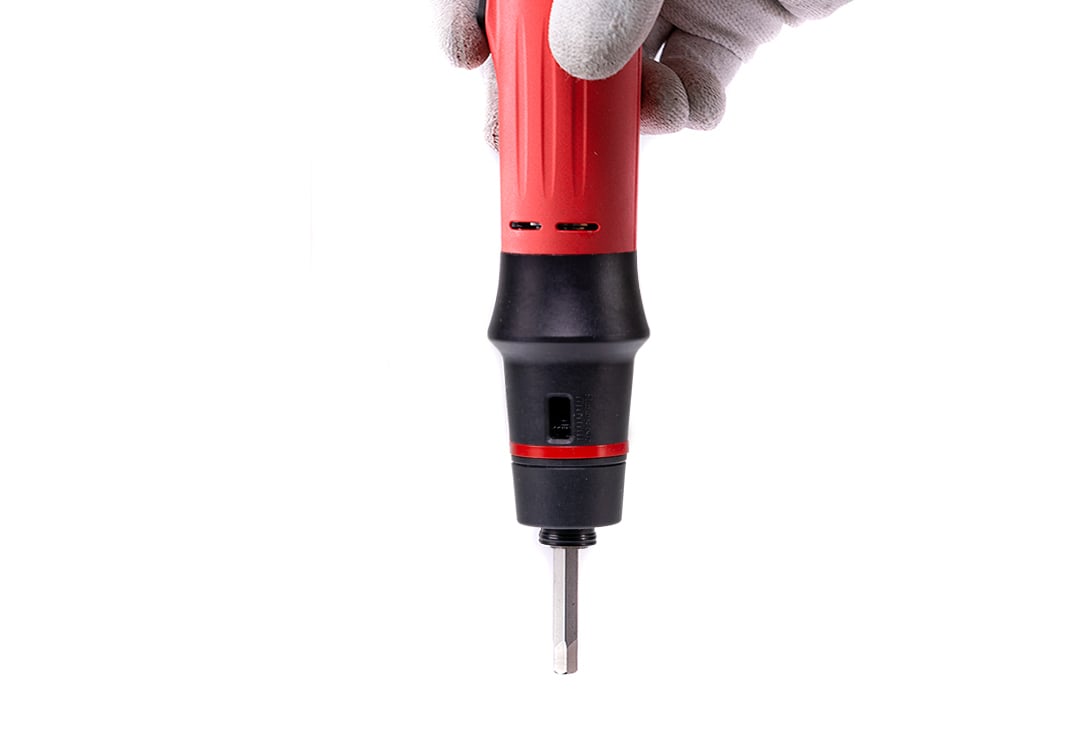
American Hakko Products has developed a line of CHP brand electric torque drivers, power supplies, and measuring equipment to ensure your driver is set to and remains at the proper torque value for your application.
To properly set the torque value on your torque driver, you’ll need a torque meter (rated for your specific torque range) and your torque driver. The torque meter will come with a run-down adapter that acts as a test screw for your driver to test its torque range.
1. The Set Up
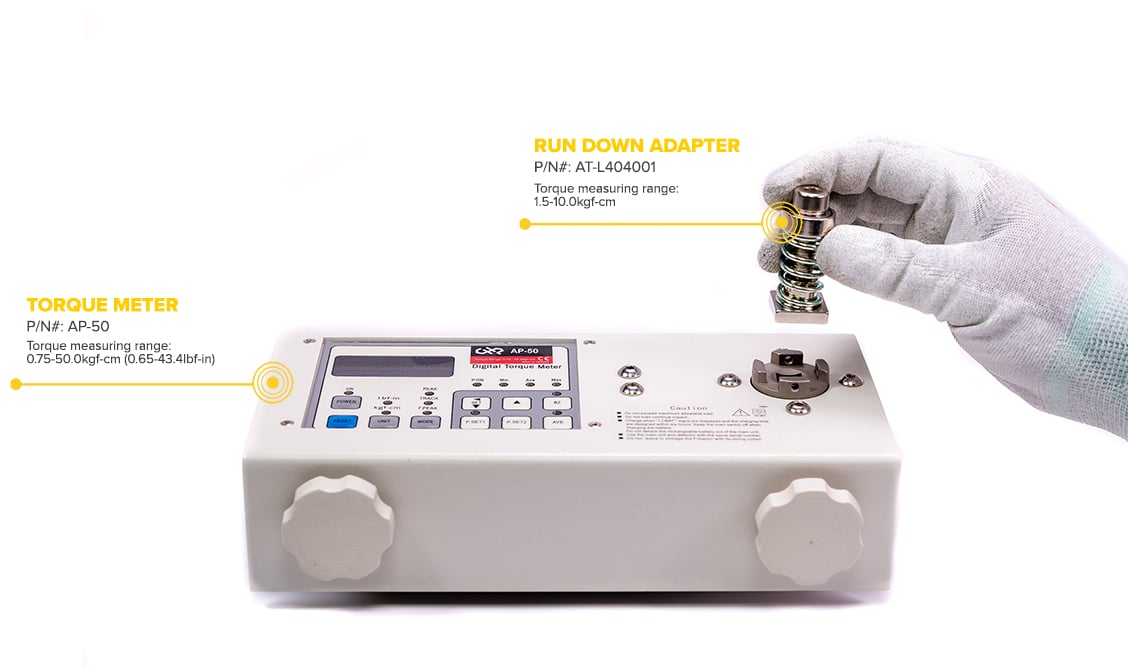
First plug in your torque meter, then take the accompanying run-down adapter and install it on the meter. Make sure your torque meter is in PEAK mode.
2. Test the Driver
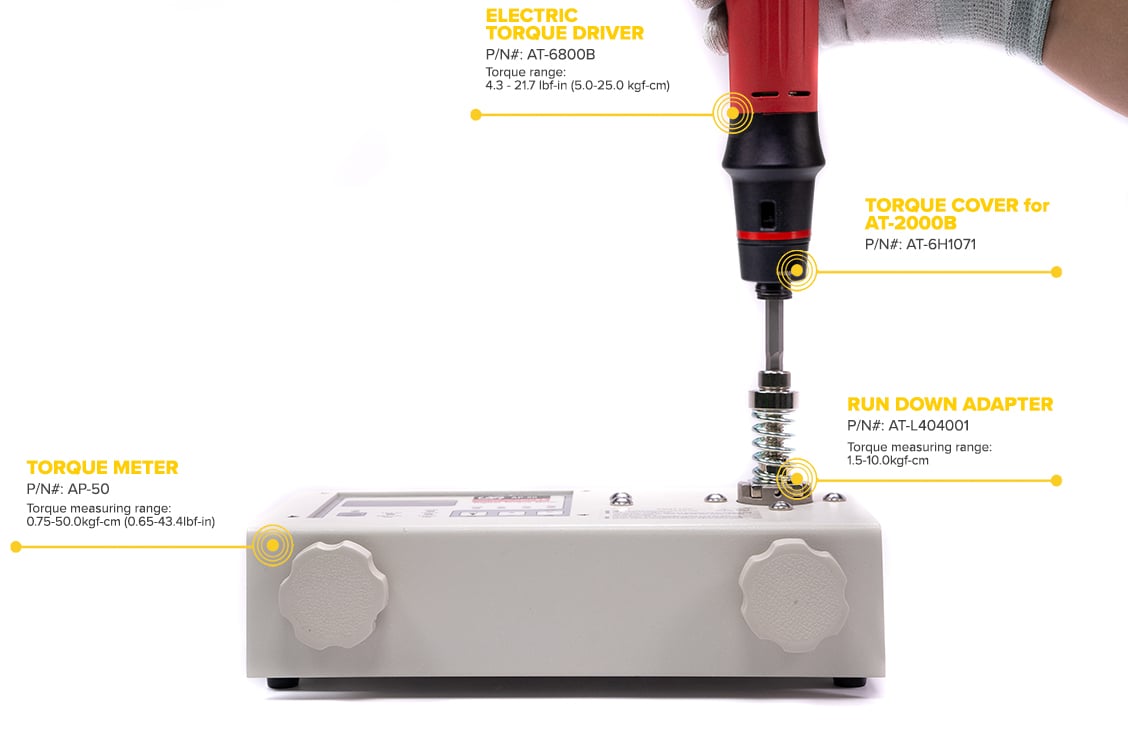
Take your torque driver and press it down into the run-down adapter, similar to how you would fasten an object. When measuring the torque value, it is important to keep the driver as vertical and as steady as possible and tighten the run-down adapter at a consistent speed each time. Failure to do so can result in faulty measurements.
3. Repeat the Process
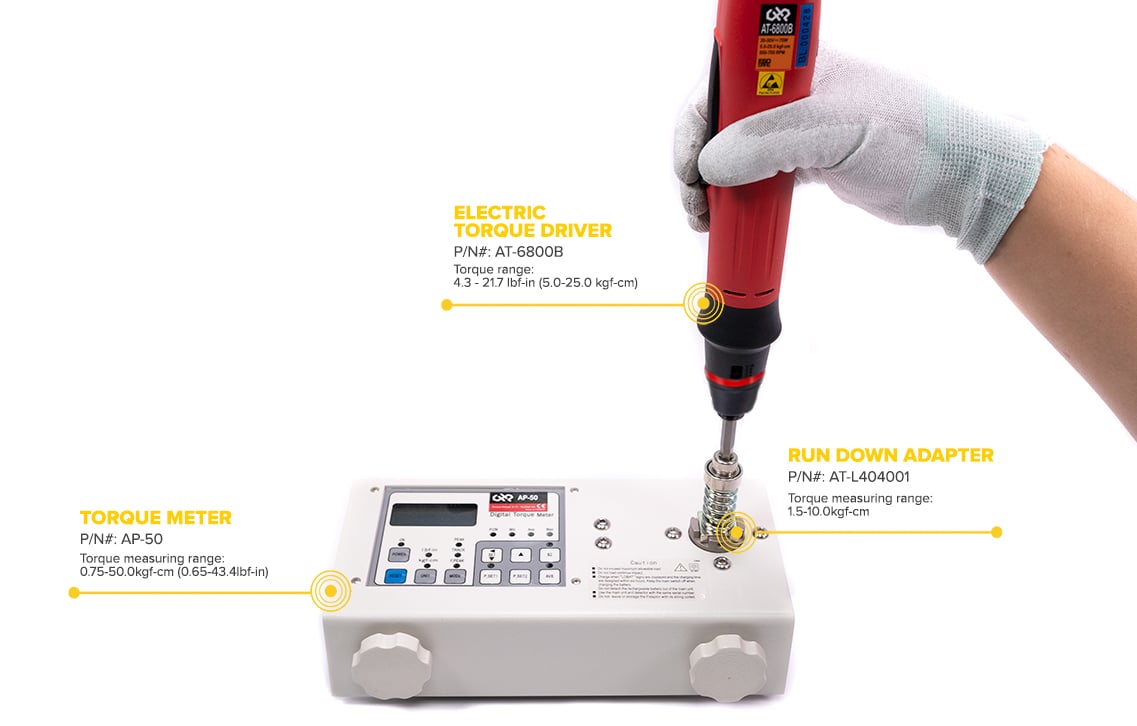
Repeat this process ten to fifteen times, making sure that the measurements are consistent. Note that the measurements do not have to be exact but should be similar.
4. No Room for Error
If the torque value was found out of range, remove the adjustment cover from your torque driver and increase or decrease the torque value of the driver by rotating the adjustment ring. Then repeat the process while making slight adjustments to the torque value until you have reached your desired value. Once the measurements are consistent and repeatable, record the final torque value.
5. Adding a Seal of Calibration
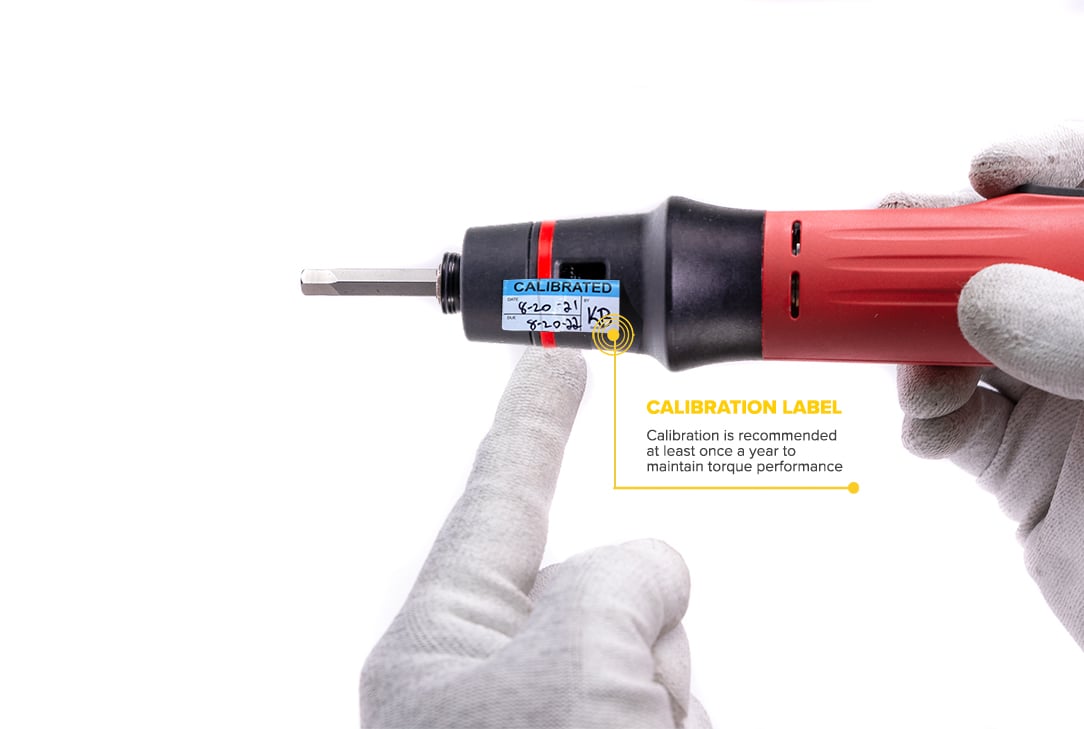
Mark your electric torque driver with a seal of calibration to know that your driver has its torque value properly set.
Now that you know how to check and adjust your torque value, it is important to periodically check the value as the tool may naturally drift out of tolerance over time and require readjustment or calibration.
American Hakko offers calibration services to ensure that your torque meter provides accurate measurements when you set the torque value of your electric torque driver.
Full list of CHP Electric Torque Drivers and their reference torque values

For more information on CHP Electronic Torque Drivers, click here.
Visit us at www.HakkoUSA.com or contact us at 1-800-88-HAKKO (42556) or at [email protected].
-HakkoUSA